Download CAD Data
To download CAD data from product pages, follow the instructions below.
- * To download CAD data, you need to log in.
- * No CAD data may be available for some products.
Select your specifications and dimensions and download CAD data
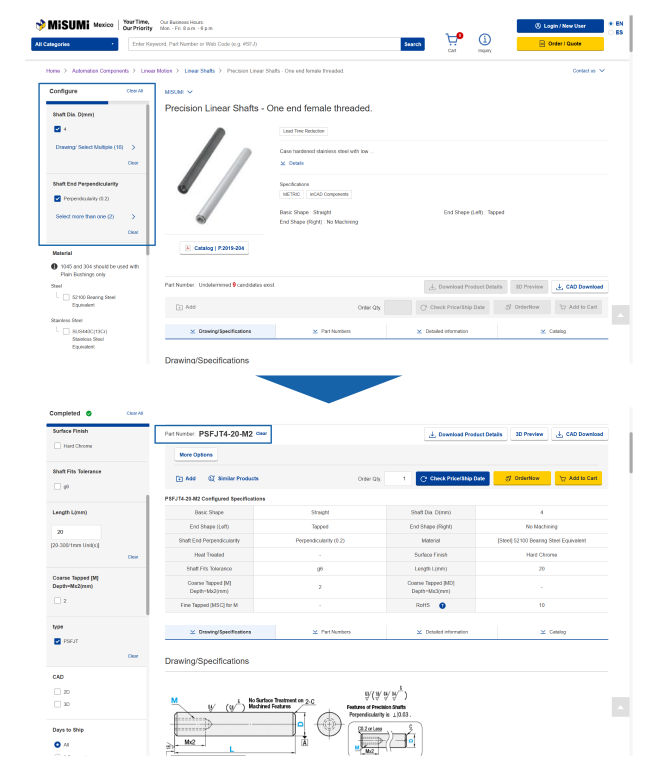
Select or enter the specifications and dimensions.
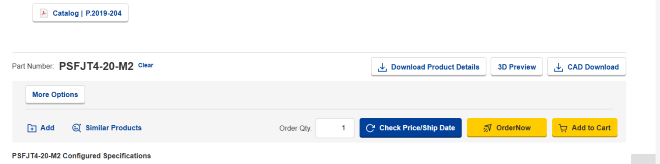
Once you have selected your specifications and dimensions, a part number will appear. Use the "CAD Download/Preview" button to start downloading CAD data.
Select CAD data
Select the CAD data to download for the selected part number as shown below.
Mechanical components (MISUMI brand)
If there is a "3D Preview" tab in the middle of the product page, click it to view a 3D preview.
* If you have not specified a part number, the 3D preview for a sample product appears.
1 Specify product type and dimensions
Select or type in the product type and dimensions as required.
2 View 3D preview
Specify the product type and dimensions and click the "3D Preview" tab to generate a 3D preview.
(It may take some time to generate the preview.)
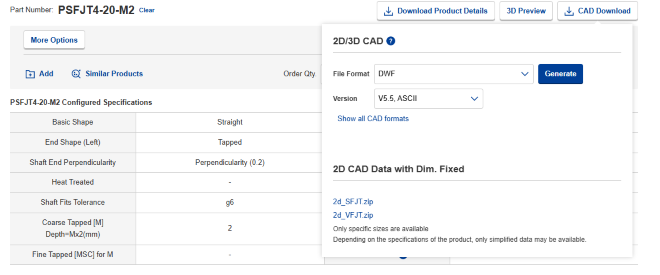
3 Select CAD data download format
Click the "CAD Data Download" tab to select a file format.
Select a format and click "Generate" to start the download. (It may take some time to generate the preview.)
* If you have not selected a part number, click "Generate CAD/Part No.", specify the part number you require in the screen that appears, and then download the data.